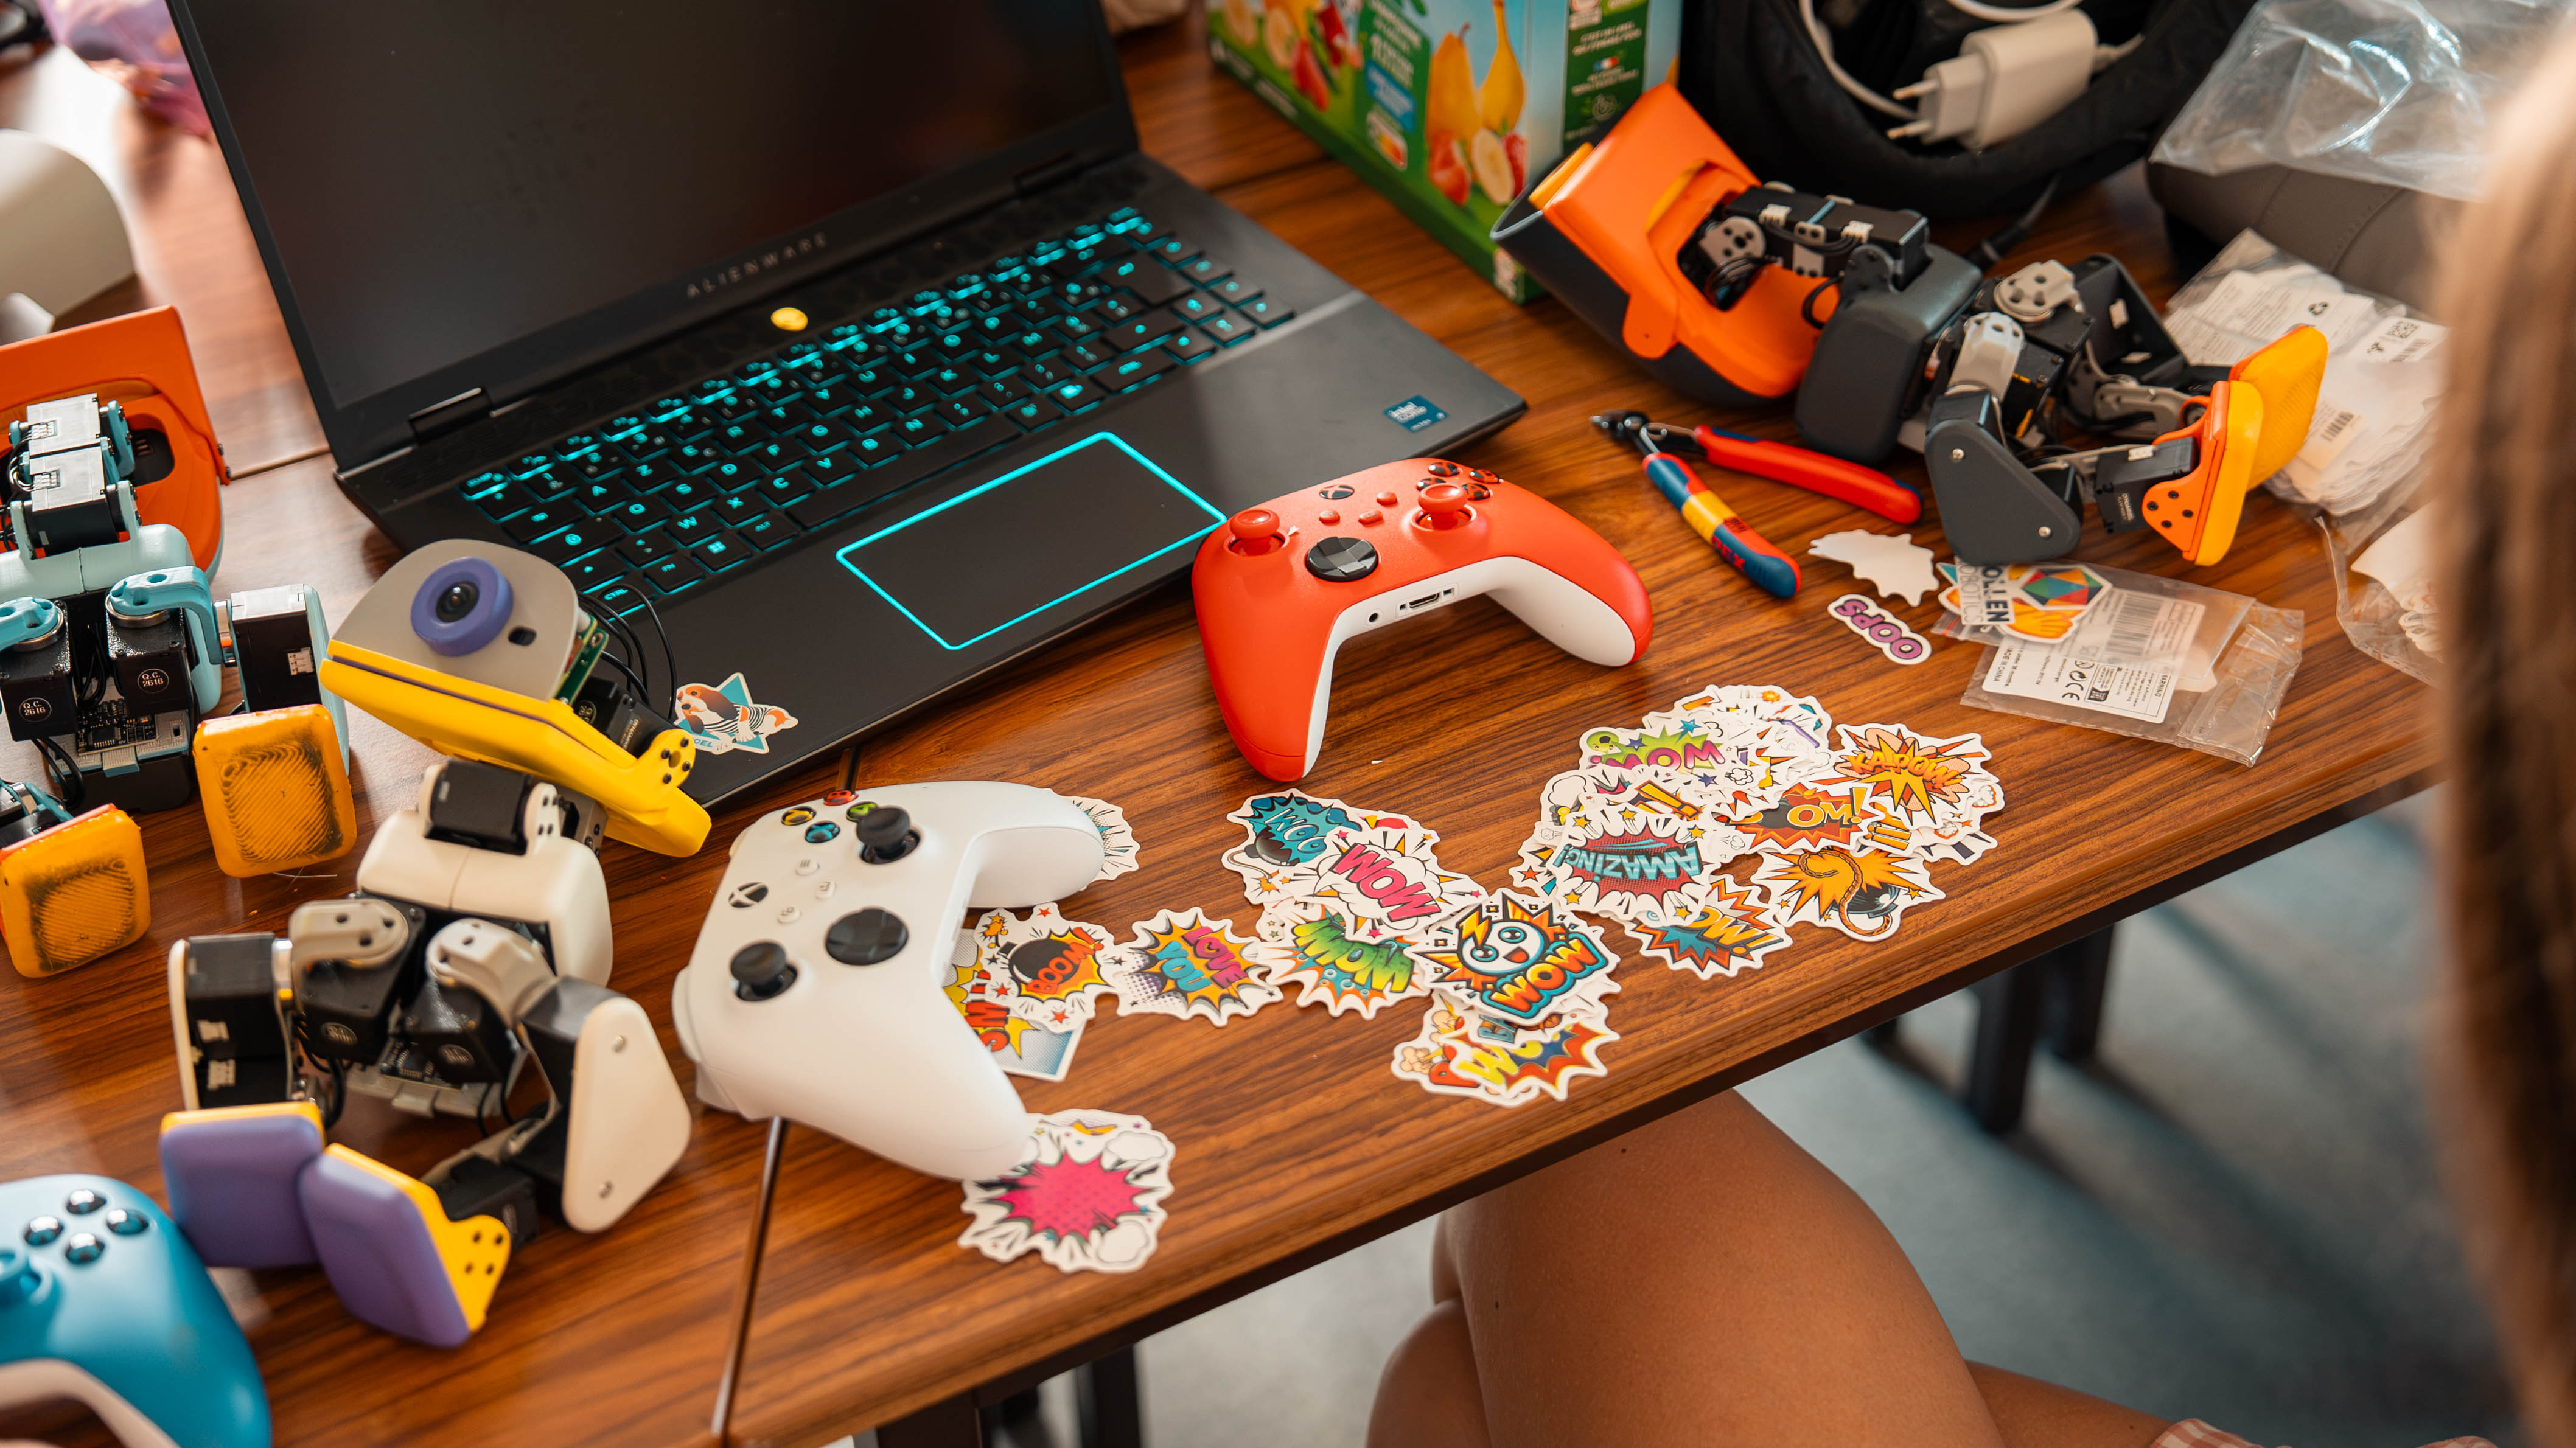
Official launch-shoot workbench. Use the documented design for your own parts plan.
Photo: Pollen Robotics ↗1. Start with a specific design.
A useful parts plan begins with the design you intend to follow. Record the original source and its revision before comparing individual components.
2. Make uncertainty visible.
| RECORD | WHAT TO CAPTURE |
|---|---|
| Structure | Drawing or model source and revision |
| Actuators | Exact model, interface and design requirement |
| Control & power | Specified interfaces, ratings and connectors |
| Open questions | Compatibility items still needing evidence |
3. Before you move to assembly.
Checks record your own planning progress on this device.
4. Share the context with your question.
Link the design, show the component reference, and explain which requirement you are trying to satisfy. Another maker can then review a concrete question.
Copy a parts question that can be answered.
A simulation mesh or a servo name alone is not a fabrication drawing or a complete electrical specification. For each part, link the design requirement you are trying to satisfy. Leave a field unresolved if you do not have evidence; a filled-in guess is harder for another maker to correct.
Source design URL and revision:
Component role:
Exact manufacturer and part number:
Quantity in this design:
Required dimensions / mounting reference:
Required voltage / current / interface:
Connector and pinout source:
Firmware or configuration requirement:
Proposed substitute, if any:
Evidence that it meets each requirement:
Unresolved question before ordering or assembly:
Use one record per component or proposed substitution. Attach original photos of markings and connectors when asking about a part you already own. Record manufacturer specifications as specifications and measurements as measurements.
What would you like to understand next?
Keep the source, your environment and your observations together.